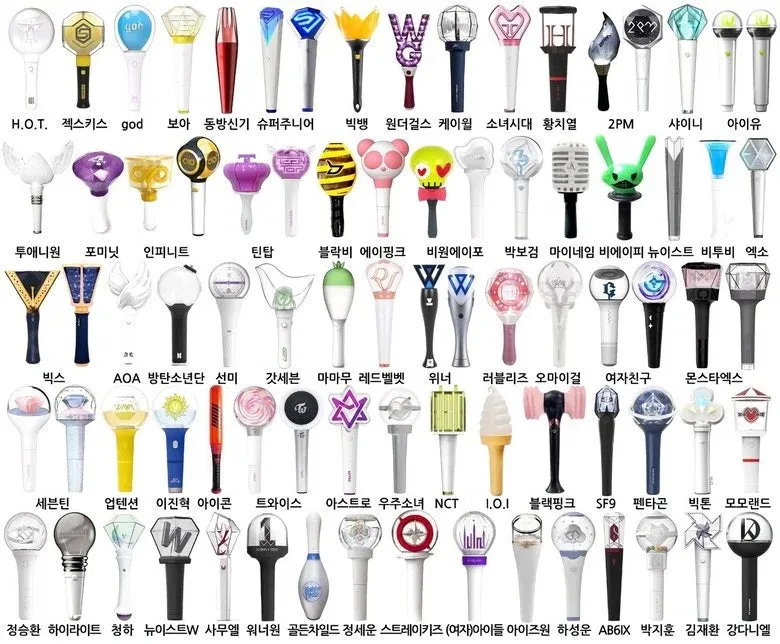
My daughter's life now revolves around K-Pop Demon Hunters, Huntrix, BTS, BlackPink,... so naturally, since we're getting into the K-Pop culture, we discovered the existence of the "K-Pop lightsticks" or "army-bombs". Do you know about the Taylor Swift LED bracelets? Well this is much better, see below a little sample of how many are (each group has one - with different versions)
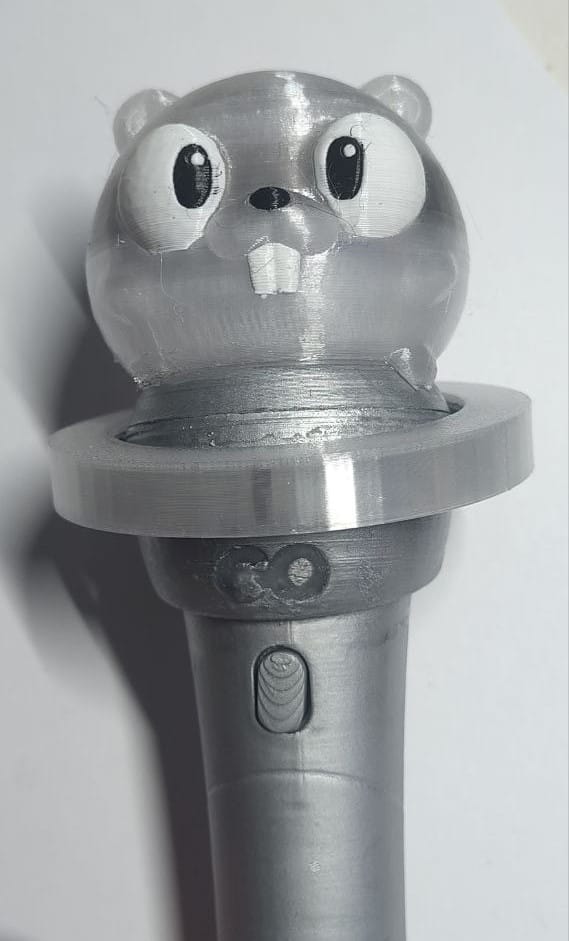
So I made one KPOP Gopher Lightstick:
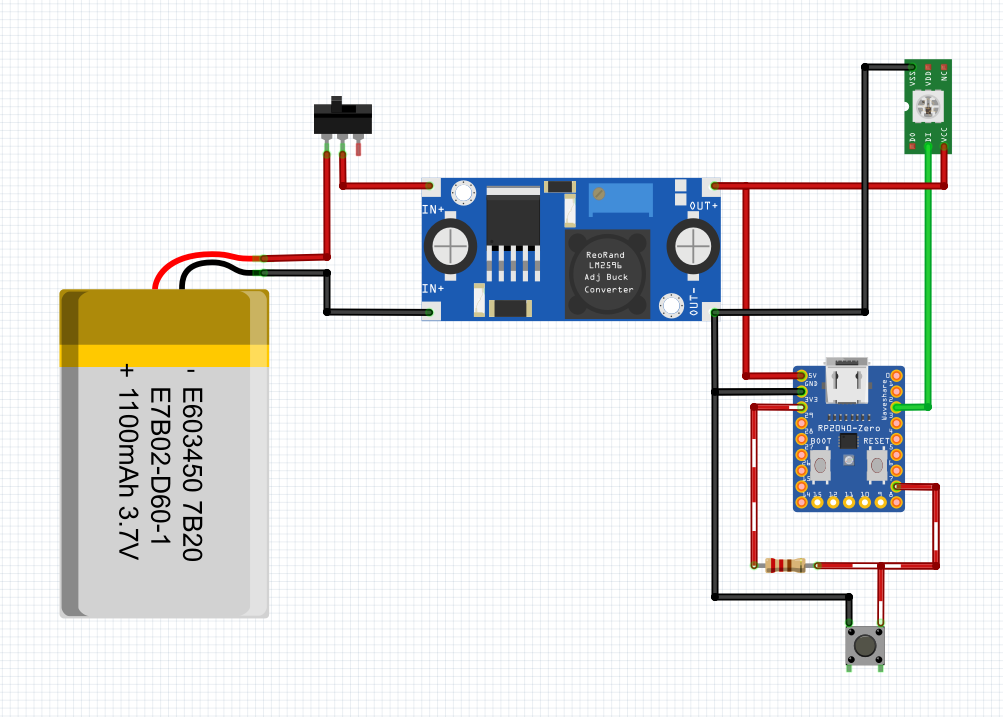
And here I tell you how to make yours! There's a repository with the code, BOM and the schematic, as well as the 3D files ready for your printer. The hardware is quite simple, a LED strip and a button. A Waveshare RP2040-zero for controlling the show, a step up with a switch to bump up the power from the LiPo battery.
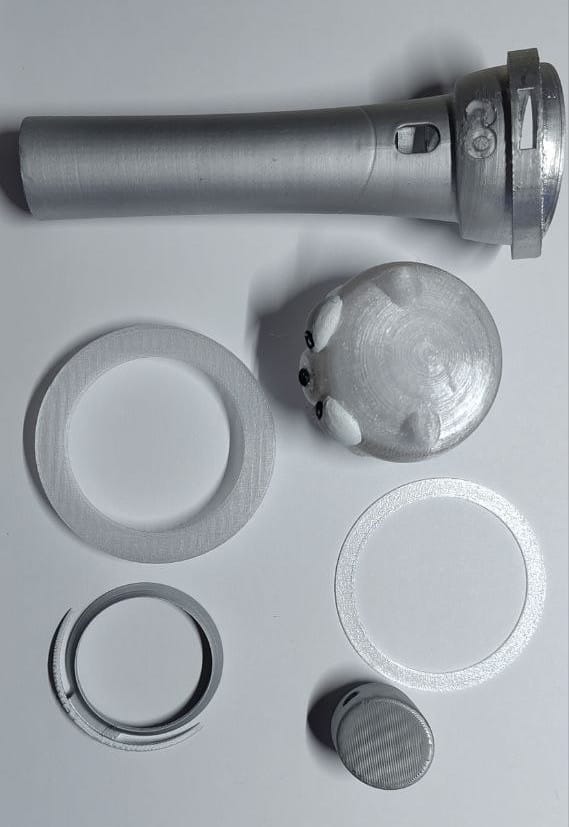
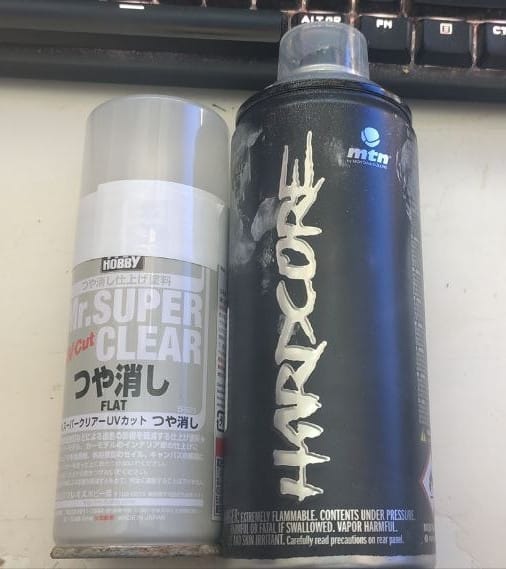
First, you need to print the parts, I user white filament for the wand body and transparent for the outer circle. The GO logo con the wand is hollow, I used clear UV resin to make it transparent (and hold the center of the O in place) since the transparent filament is PETG and the rest PLA, and doesn't match great. The gopher had a band of darker transparent at the eyes' height, that's because I used multi material printing and probably there's not enough wiping to make it clear. I sanded a little bit and used Montana Silver spray paint, plus Mr Super Clear FLAT as finish layer.
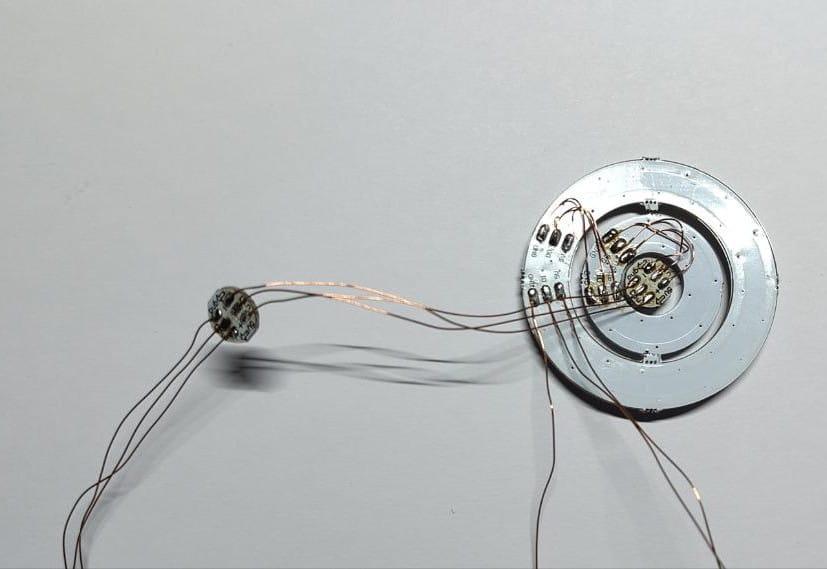
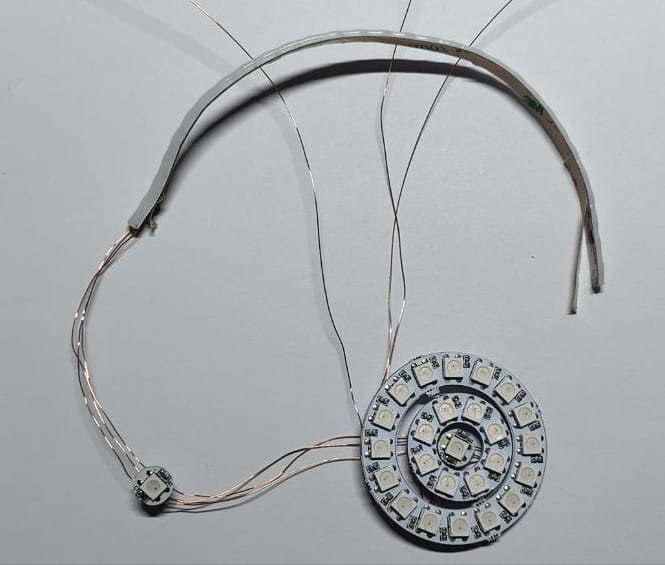
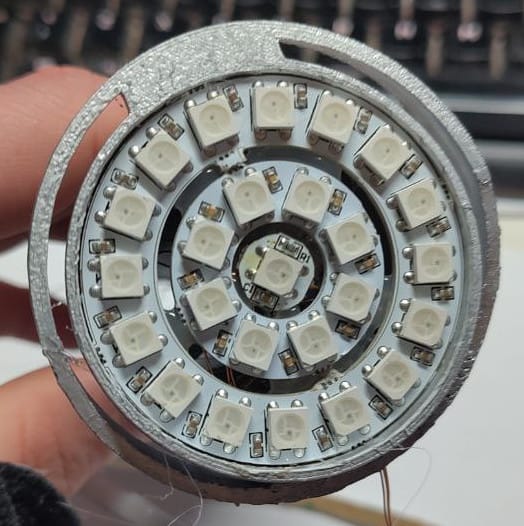
Next, solder the rings, from outside to inside, left longer wires for the single LED for the GO logo, and longer wires again for the LED strip. All the LEDs are WS2812b. If you buy the 3 rings together, they might be already soldered together. I used enamel wire because the other wire I have is too stiff and will cause problems fitting inside the wand. Solder the 3 long wires to the IN of the outer ring (longer than the wand body), same for the button (2 wires) and the switch (2 wires).
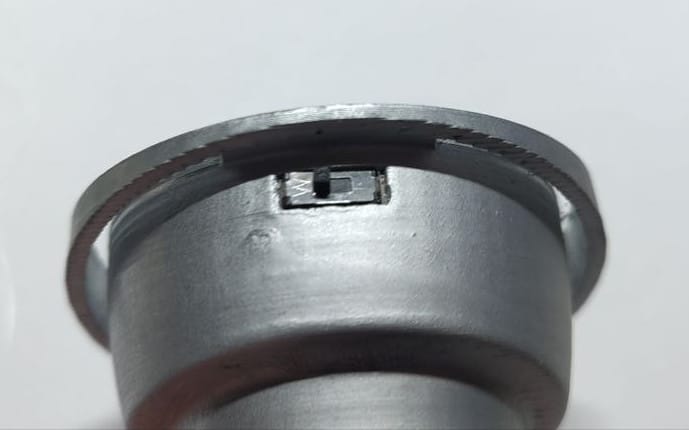
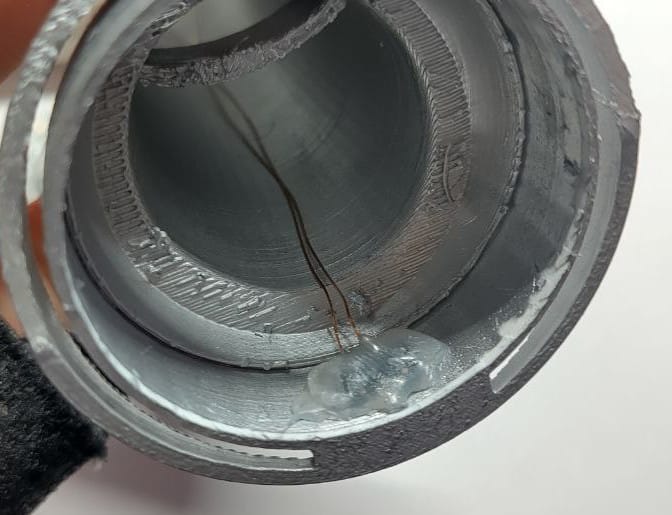
Once soldered, it's time to put everything together. Put the switch and a nice amount of hot glue on the hole at the back.
Time for the button. First insert the printed button, then the electronic button and hot glue. The button needs to feel soft on touch, depend of the button component you are using.

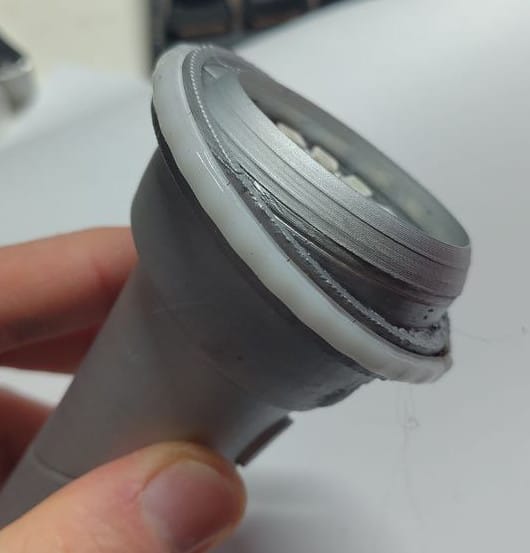
We are almost there, insert the rings on the top, it should fit tightly, glue might not be needed.
You may want to finish the electronic circuit and check everything is working fine, because once the top part is glued, there's no way to fix any problem. Use cyanoacrylate glue, not glue, for the 3D printed part. And then, the LED strip of the outer ring. LED strips usually come with double side tape, but use a little of cyanoacrylate glue so it doesn't fall off with time.
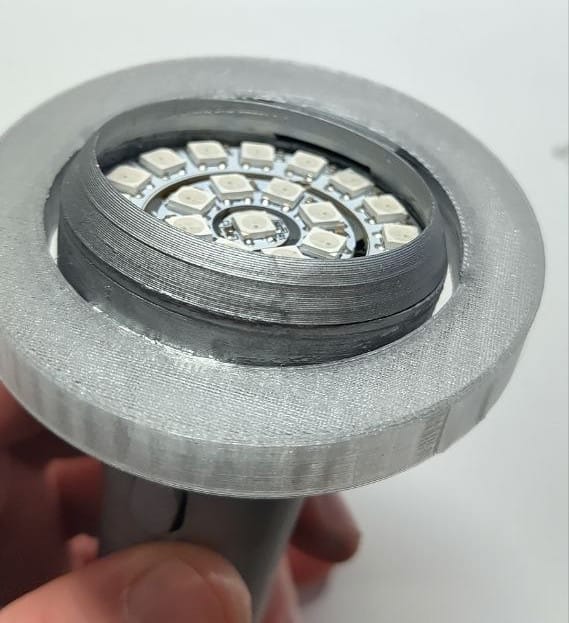
The big transparent part comes from the top. Use cyanoacrylate glue. The smaller ring should be introduced by the bottom.
I used some shrinking tube to protect both the step-up converter and the Waveshare RP2040-zero.
Glue the gopher on the top, connect a batter, screw the bottom cap and done! Enjoy it!